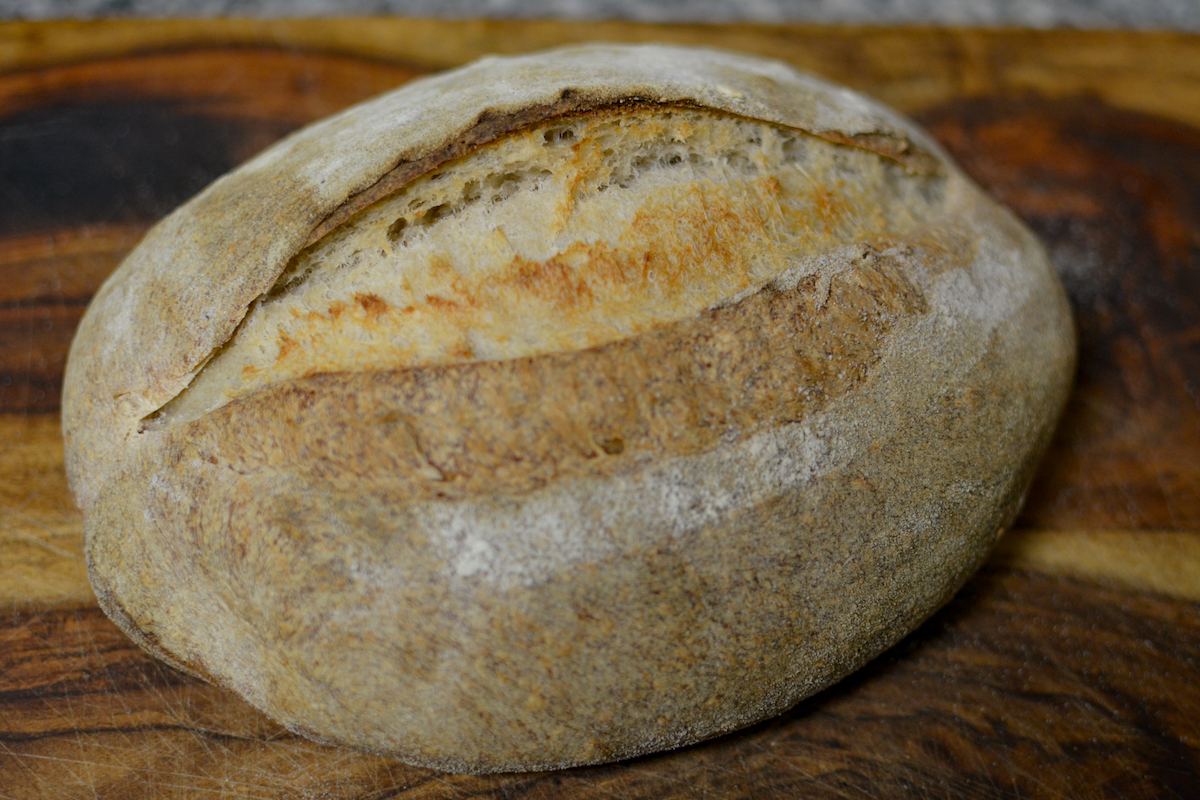
This is my favorite recipe for a classic Italian bread. If you ever had a great bread in Italy and couldn’t tell if it was a sourdough or not, chances are it is this type of bread.
Unlike other sourdough breads this is made with pasta madre. This stiff style of starter is less sour and provides a crustier bread.
When I make this bread I use fresh ground durum flour that is sifted. I understand this may not be an option for most people and you can substitute semolina.
Notes on bulk fermentation and proofing.
Bulk ferment and proofing times will vary based on temperature, your elevation and other factors. The times listed are guides. Bulk ferment is done when the dough has grown by at least 50% and closer to 100%. The addition of semolina will make the dough not raise as much as all bread flour. The dough will be ready to bake when it passes the “poke test” (when it slowly fills in the indentation from your finger).
Notes on feeding the starter.
Check out our pasta madre starter recipe here and how to maintain it.
The night before I want to bake the bread I feed I do 200g starter, 200 grams bread flour and 100 gram water. This ensures that there will be plenty of starter to make the bread and keep enough left. After to maintain the starter I use 120g starter, 120g bread flour and 60g water.

Italian Sourdough Bread (Made with Pasta Madre)
Description
A classic Italian sourdough bread with a thick crust and a light crumb.
Ingredients
Instructions
-
Mix the dough
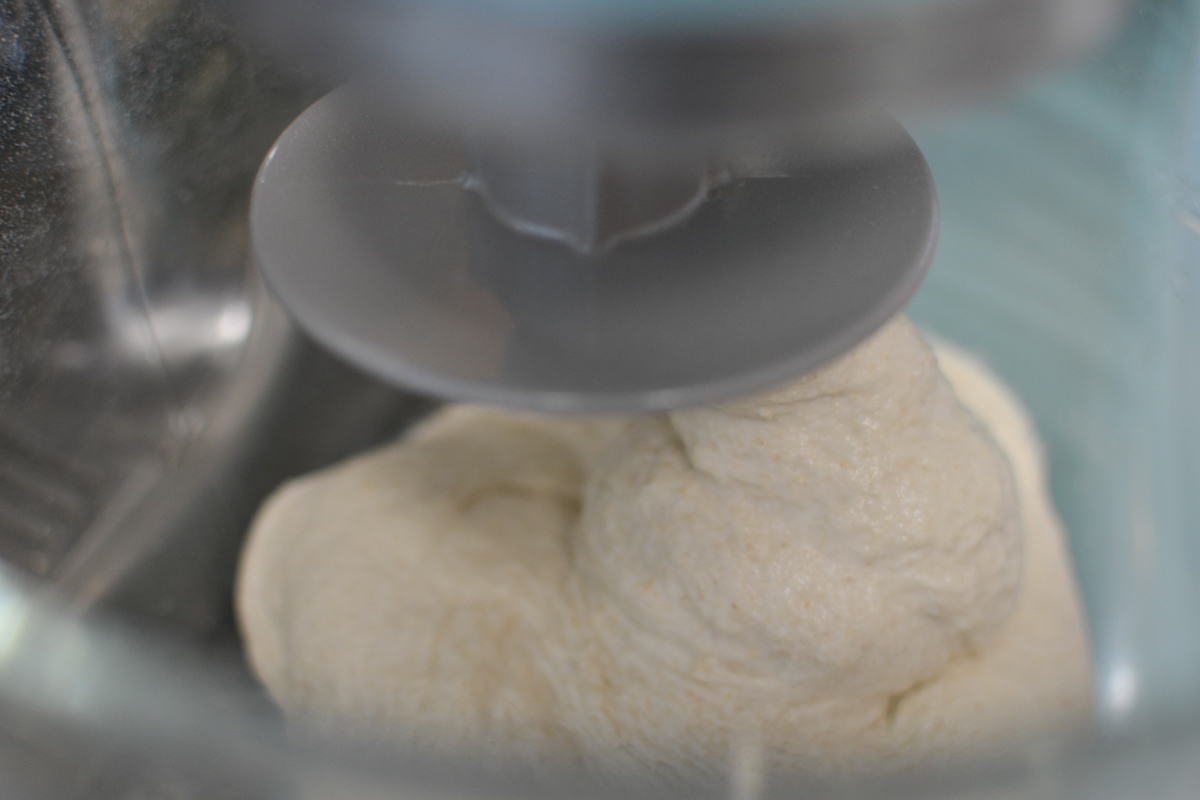
Either in a large bowl or stand mixer add the warm water and starter. Mix to dissolve the starter then add the flour and salt. Knead for 10 minutes then transfer to a lightly oiled bowl.
See notes in the description about the starter. -
Bulk ferment
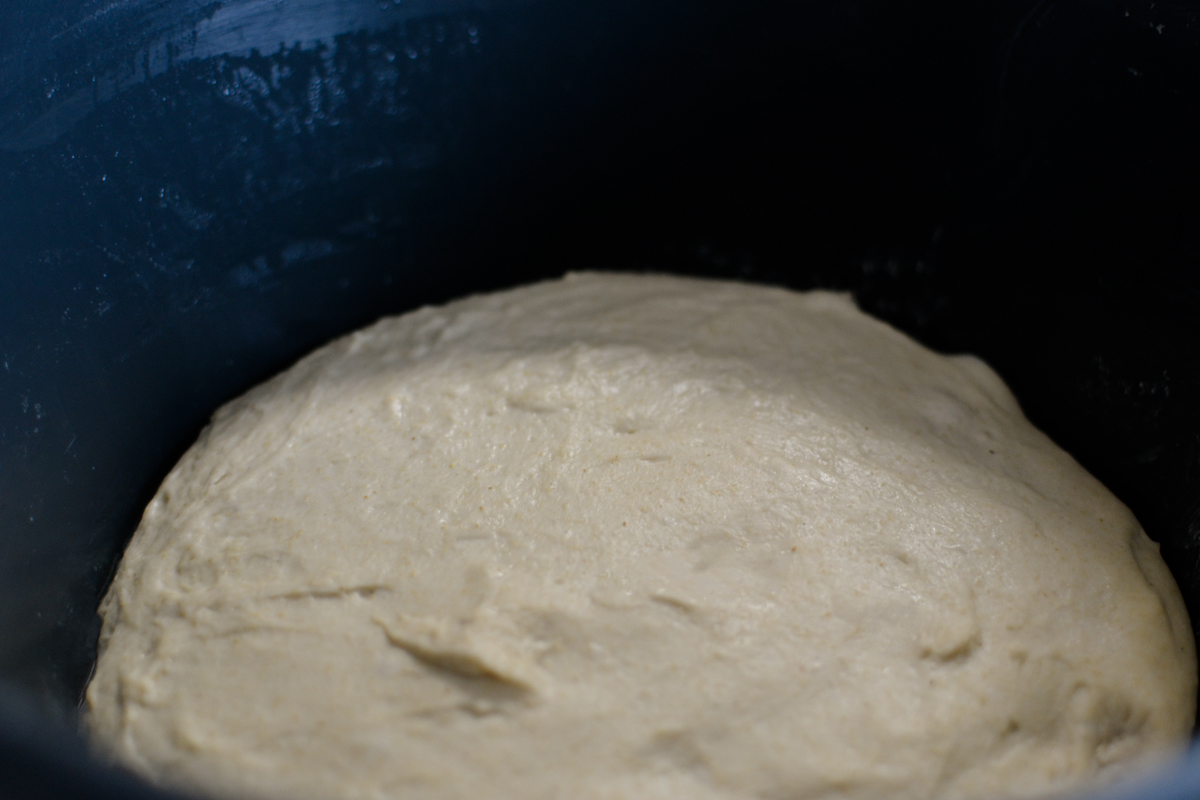
Cover the dough and let rest in a warm place for around 4 hours.
Bulk ferment is done when the dough has grown by at least 50% and closer to 100%. The addition of semolina will make the dough not raise as much as all bread flour.
Timing may differ based on temperature. See description for rest timing details. -
Shape the dough
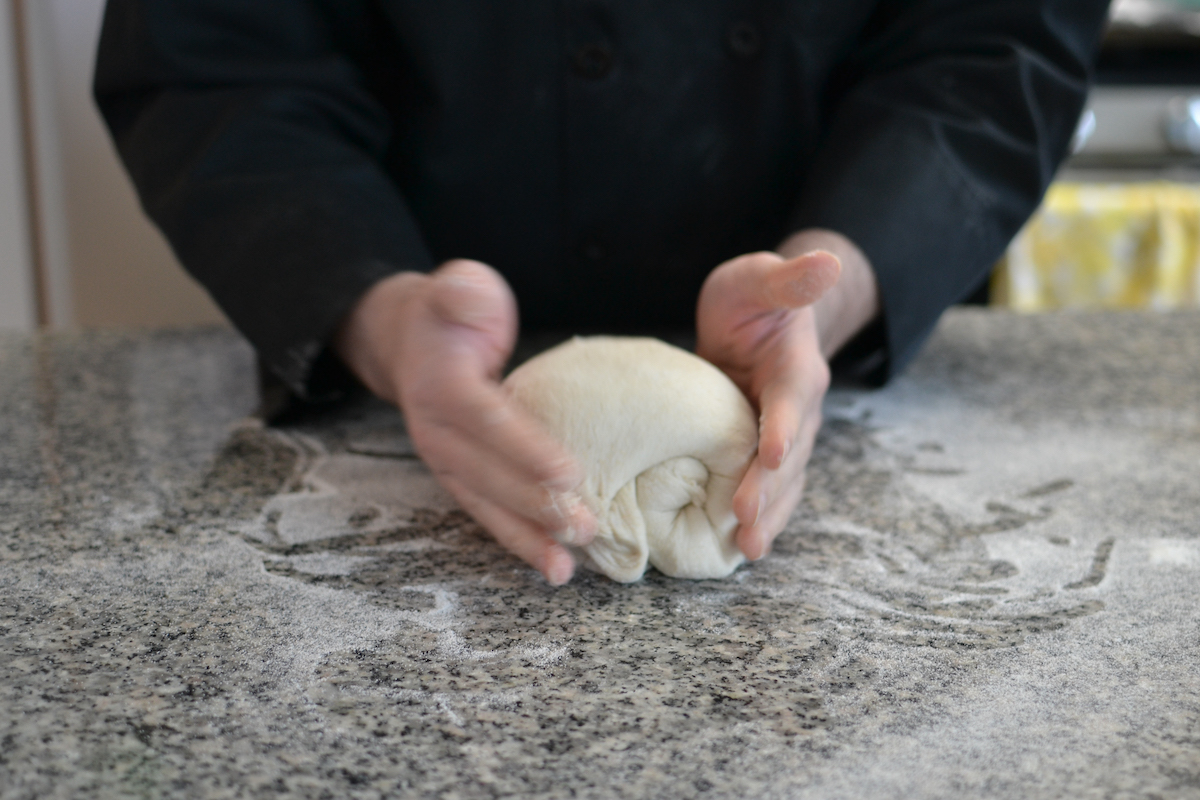
This step will vary based on the shape of the bread you want to make.
For an oval loaf start with a a rectangle of 11"x9" Stretch the top of the dough around a third of the way down. Pull the sides out and bring to the center. Start with the bottom and roll the dough up. Tuck in the sides.
Place in a proofing basket dusted with semolina, rice flour or corn flour. This will help prevent sticking.
See gallery for more shaping pictures. -
Proof the dough
Let the dough proof 2-4 hours. The timing will depend on the temperature and other variables. The dough will be ready to bake when it passes the "poke test" (when it slowly fills in the indentation from your finger).
You could also proof overnight in the fridge and let warm up for an hour before baking. Note that a cold proof will cause the dough to be more sour.
My preference is not to proof in the fridge as a cold ferment will not proof as high and it gets more sour. A traditional Italian bread like this usually isn't refrigerated, however, sometimes this works better for your schedule so go for it! -
Bake the bread
Score the bread then bake at 500 for around 35 minutes with a pan of water in the oven.
Alternatively you can bake in a dutch oven.
Allow to cool for at least a couple hours before cutting.


